Hello! I have two posts for you today, this one and a copy of the one that is on The Crafty Scrapper's blog today, so after you look at this post, make sure you scroll down to see the second one! Let's get to the share! I will be showing you my card, Debbie's card and the sketch we both used. It is a must have, go to sketch ... at least, I think so, you can be the judge ... enjoy!
 |
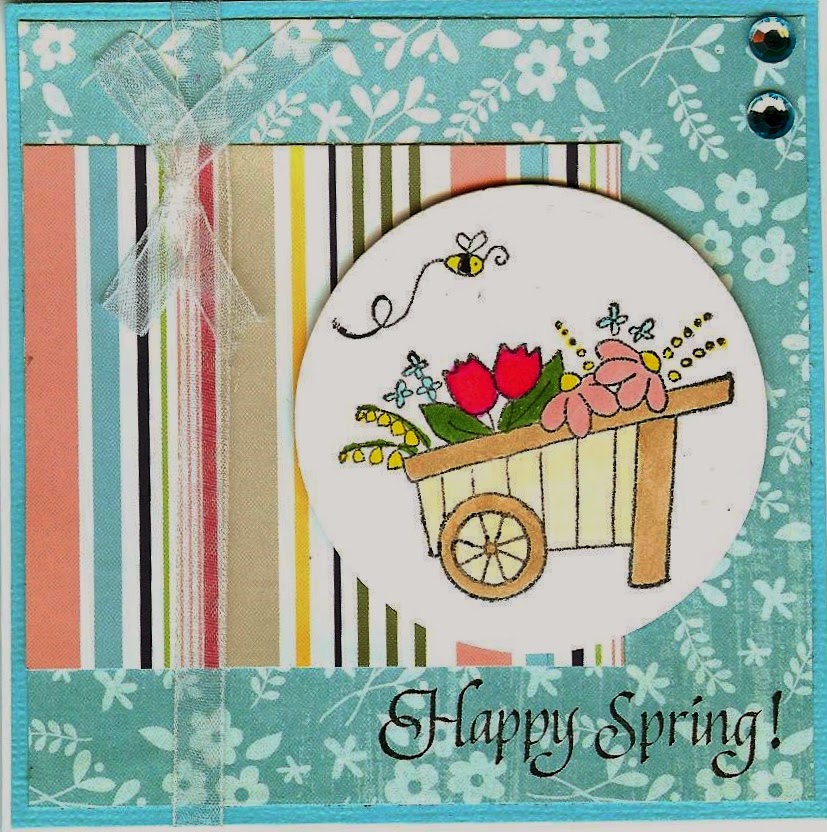
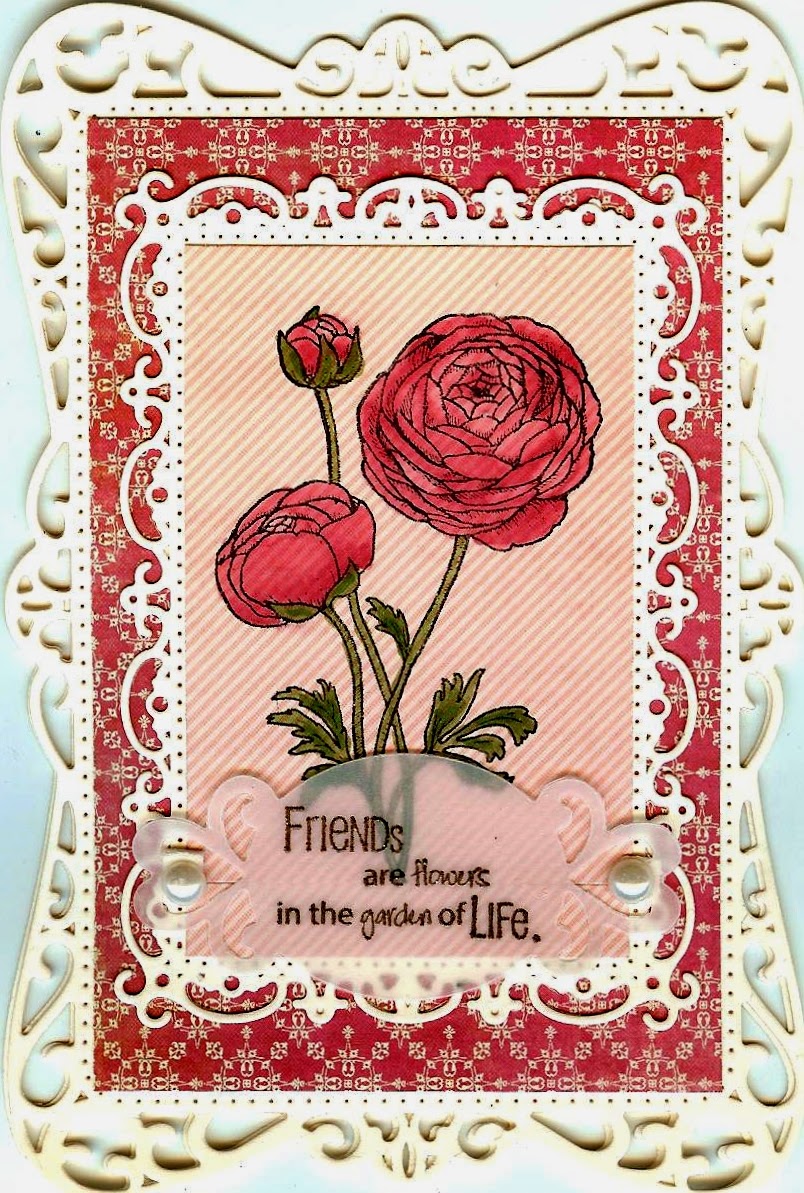
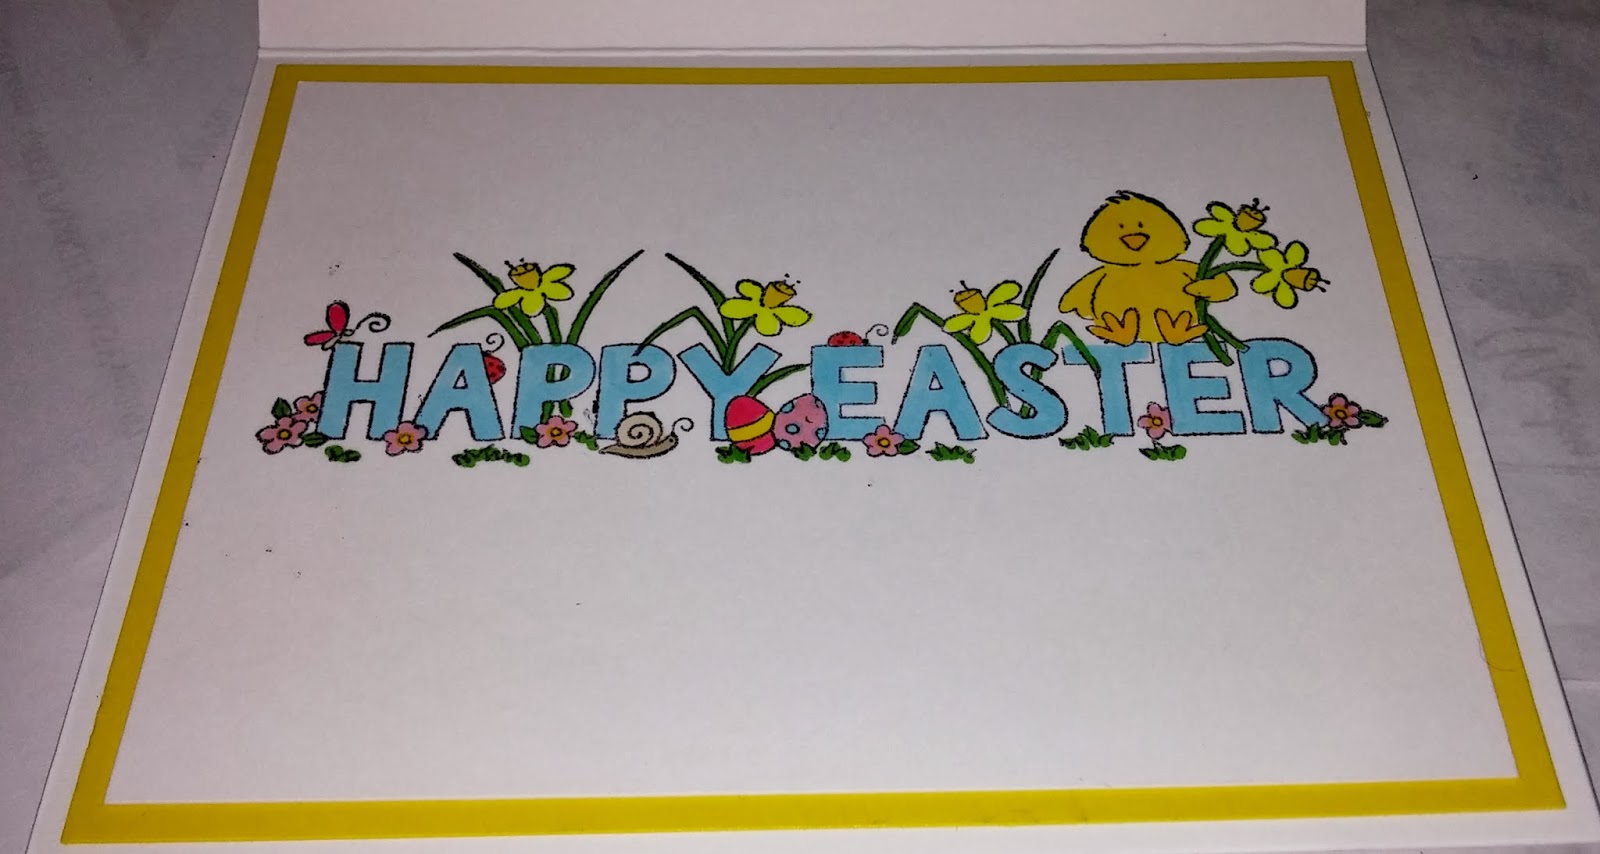
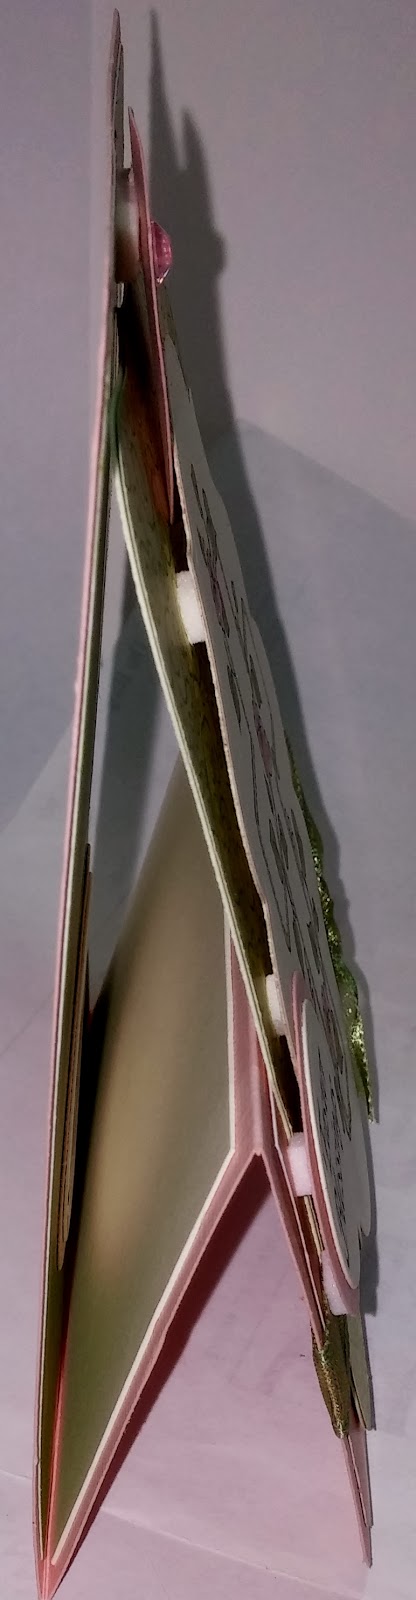
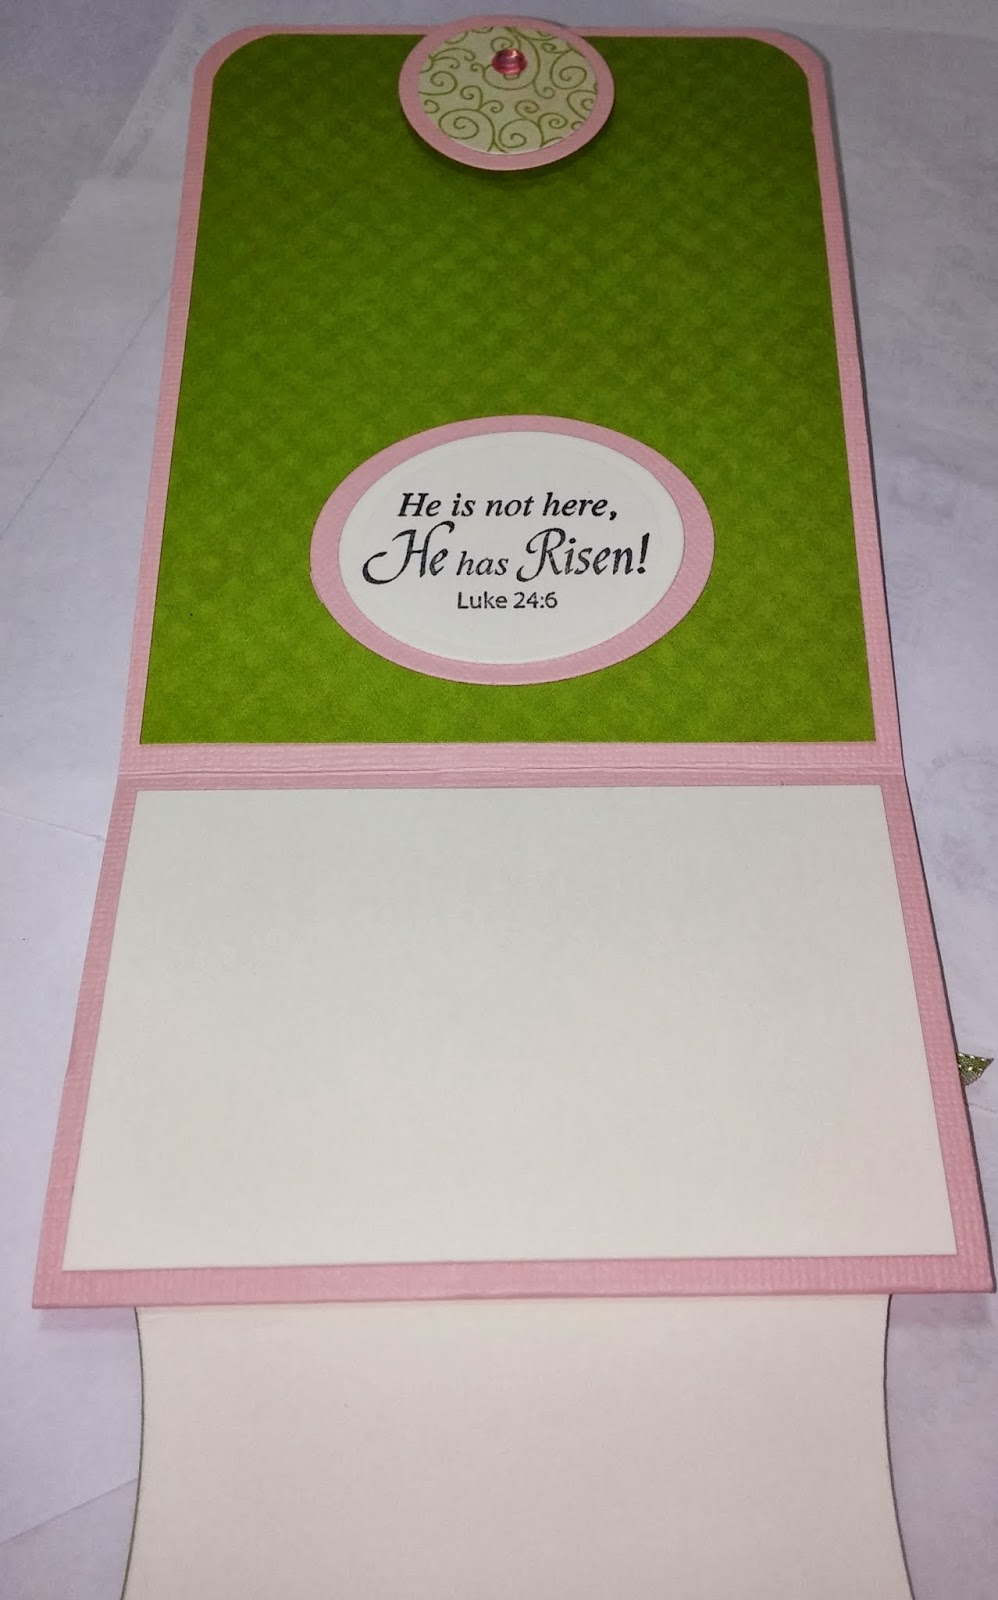
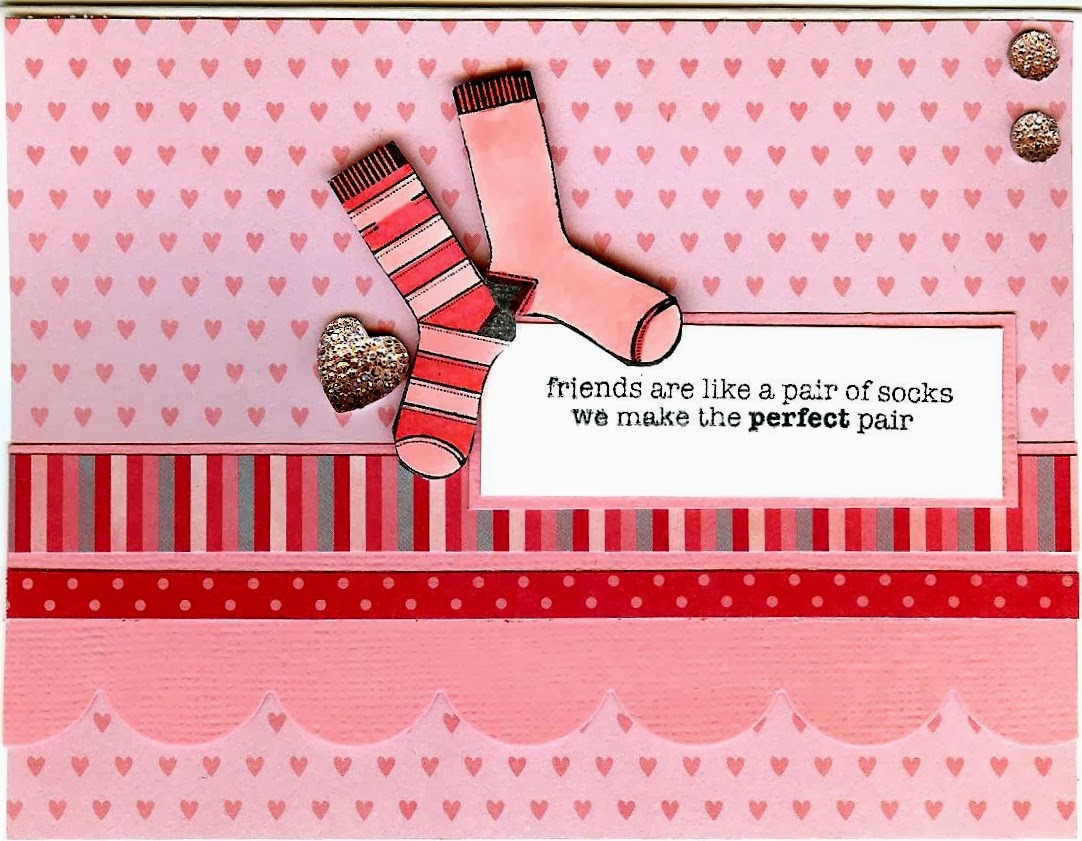
| My Card |
.jpg) |
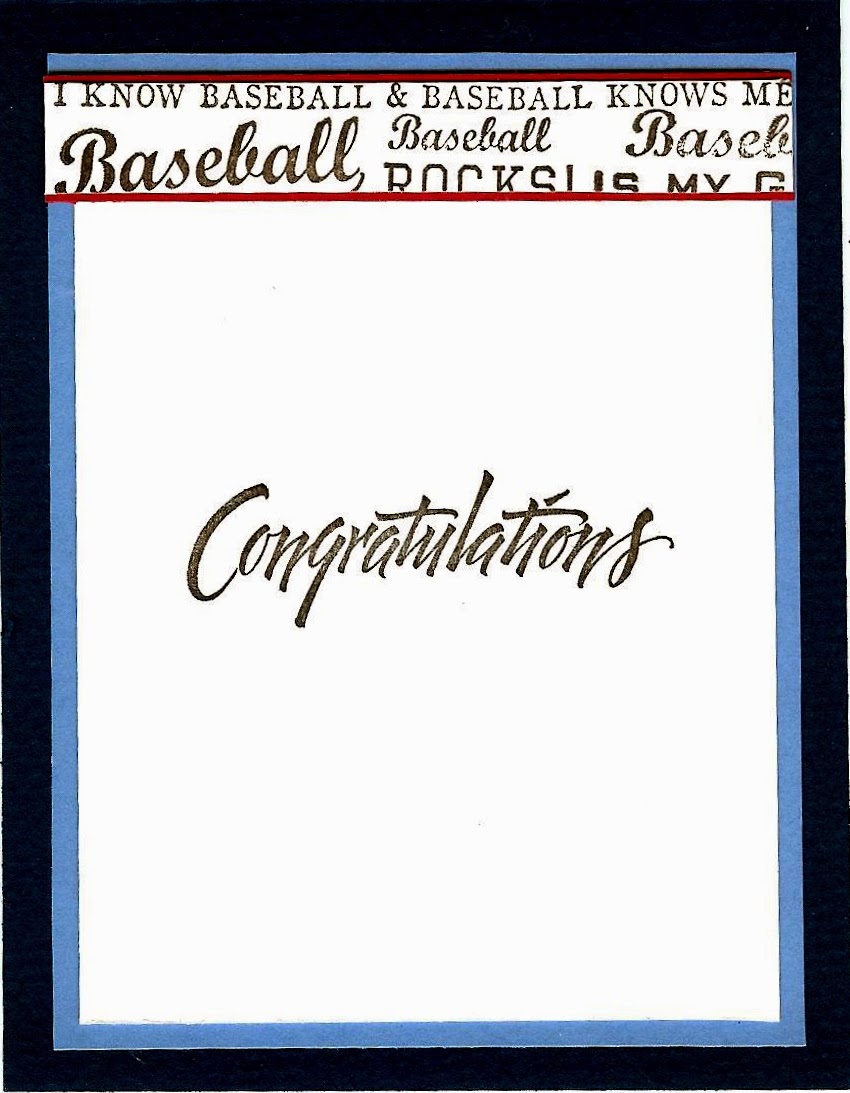
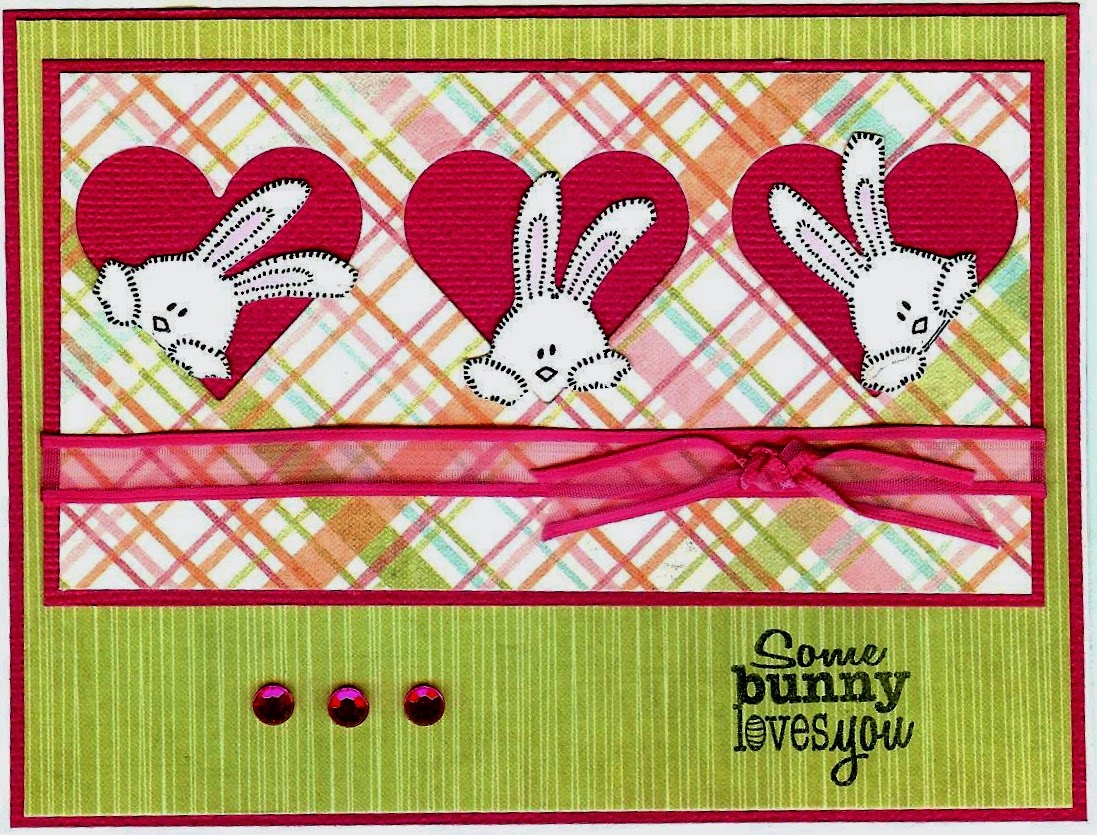
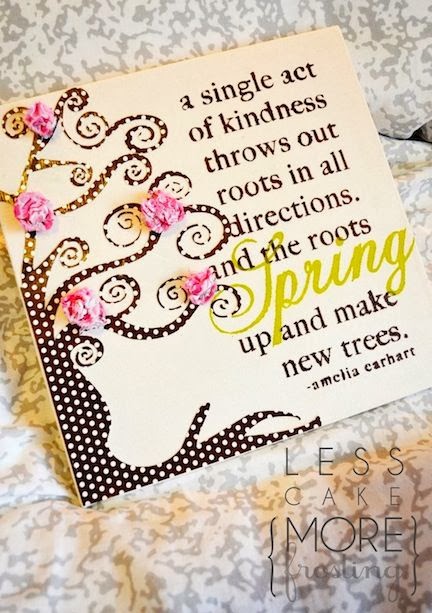
| Debbie's Card |
 |
| The Sketch |
The floral stamp I used is new to me. I was dying to ink it up and when I saw the sketch, I thought it would be perfect! The only thing is I couldn't decide on is what paper to go with. I was cleaning out my paper tote from the last class I taught, and this paper was in there and again, I thought ...perfect. Now, on Debbie's card, I have to share what she told me ... Debbie said she needed a card from her golden retriever, so this is what she came up with. On the inside she had "I really messed up. I'm sorry". So, I am curious, what did your puppy dog do? He must be in trouble for something!? Hee, Hee! I love how both cards came out and I hope you do too!
Don't forget to scroll down to see my card I made for The Crafty Scrapper's blog. And then come back tomorrow for the Sunday words of wisdom post!
Happy Stamping!
Tina