Hello! Today I have a card for you and also a share of a "how-to" that I promised you a couple of weeks ago. I am sharing this how-to in my class this week, so I figured I had better get on the ball and share it with you here too! First, let me show you my card. I made the card especially for today's post, but it really is cute, so surely there would be someone to send it to for the occasion, just because. Enjoy!
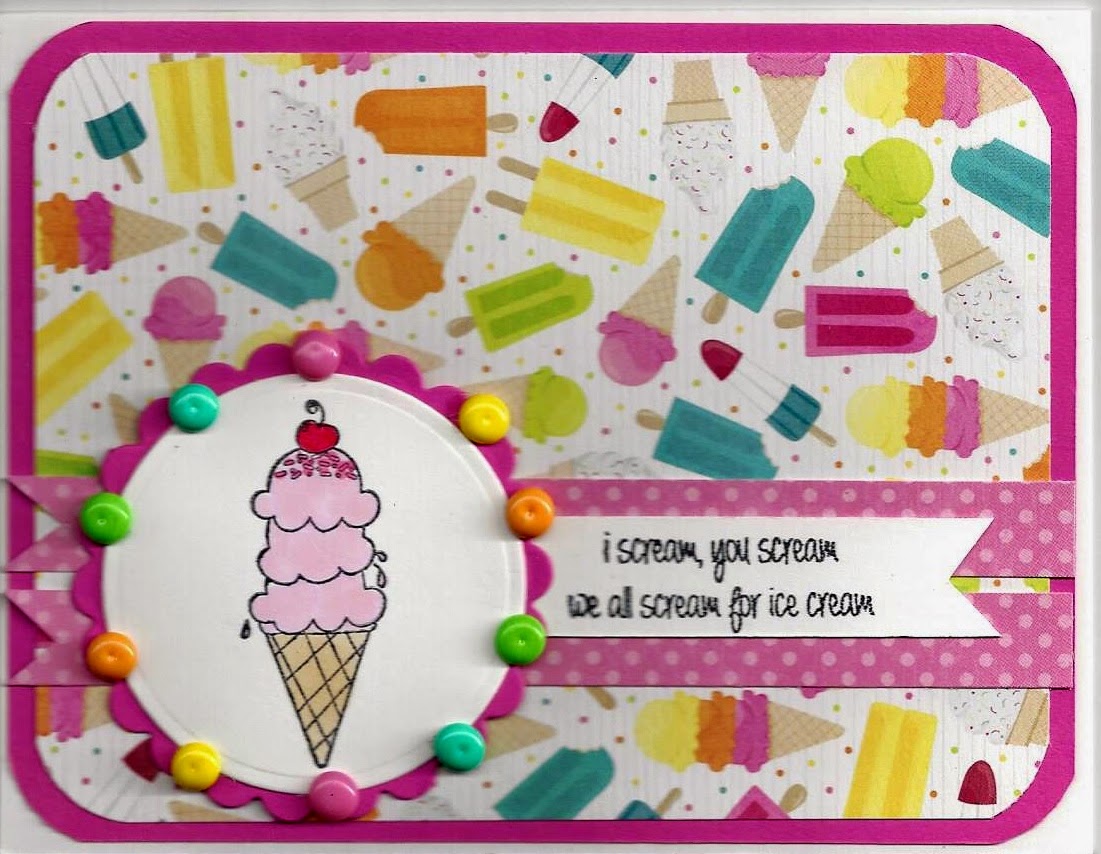
I have always loved this saying about ice cream. Thanks to Rubber Café, it is a stamp! The cone was one of those $.99 stamps from Imaginisce, but I liked it better than the cone on the stamp set, as the one on the stamp set is solid. I am still having a hard time inking clear solid stamps and liking them once they are inked. Anyway, the paper is from a summer 6 x 6 from Bo Bnnny, as well as the pink dotted strips. Cute card, don't you think?
Now, to the embellishments .... see all those brightly colored baubles? Those are handmade by ME! Woo Hoo! No, it will NOT replace my store bought rhinestones and pearls, but add to! A saw on pinterest where they were melting pony beads, but they were saying they smoke up your kitchen, so I kinda put that idea on the back burner (ha, ha!). Then, I saw where they were using Perler Beads. You can find these in the kids section at a craft store. They are designed to melt with an iron, therefore, no smoke. This is similar to what I bought, so I would have choice of colors and the colors are already separated for me ...

I think I found the best temperature to be 285 degrees and 20 to 25 minutes. The key is to line them up on the parchment paper with the hole at the top. This takes a little time. Here is a photo of my cookie sheet with them all lined up ...

This sheet had a lot of white ones as I was making them for my class kits. One more note, I think I burned that one group because I was trying to cook them so that you would not see the small indention on the top of the bauble. I think you can see what I mean if you look at the baubles on my card. In class yesterday, one of the ladies was adding Glossy Accents over the top .... what a great idea! I haven't tired it myself yet, but I bet this would help with the indention and also make them shinier, more like the ones that are sold in the stores. Pretty easy. If you experiment, send me a note or leave me a comment about it.
Tomorrow I have a patriotic card that Donna and I made for the troop boxes.
Happy Stamping!
Tina

0 comments:
Post a Comment