Hello! I am back with the Saturday share. Do you know the best thing about the Saturday share? Well, for sure, you can always count on it. You know that even if I don't post anything throughout the week, you can get some inspiration from my blog on Saturday! And, that is the case this week! I had two cards ready to show you, but since it was my class prepping and teaching week, I never got the posts ready for you. Now, I will have something for you next week! Woo Hoo! Let's do the share ... I will show you my card, Debbie's card and the sketch we both used. Enjoy!
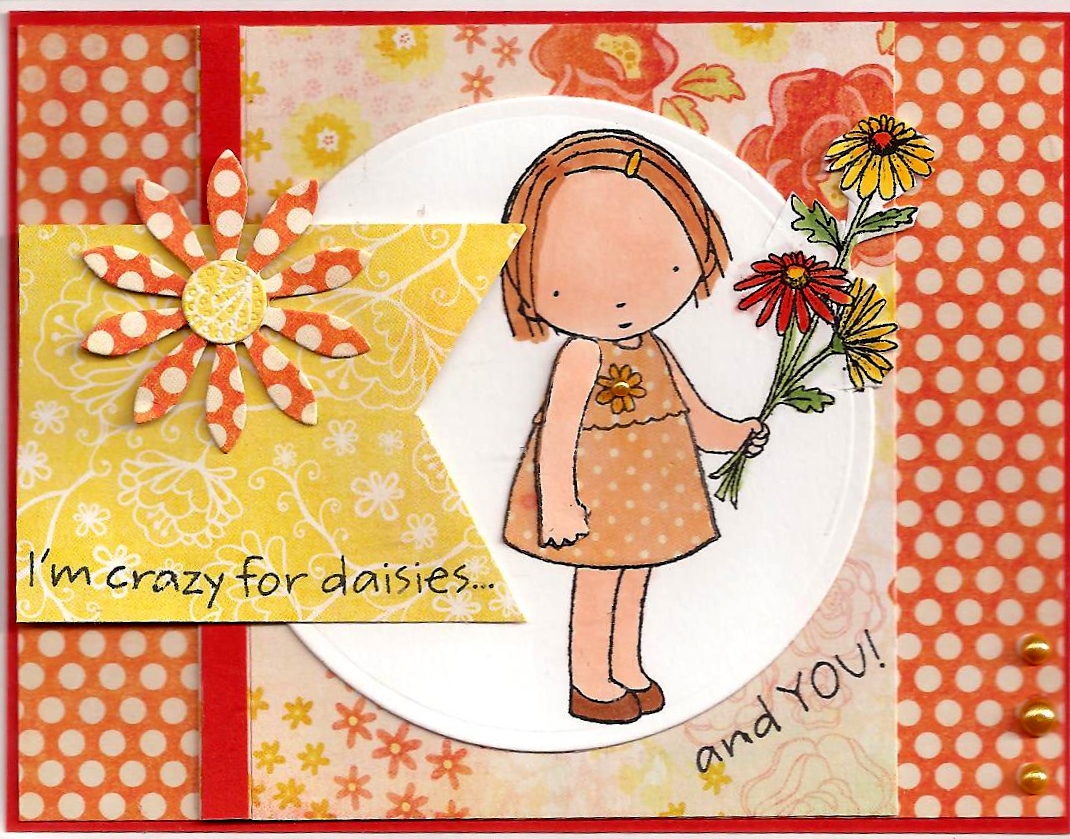 |
| My Card |
.jpg) |
| Debbie's Card |
 |
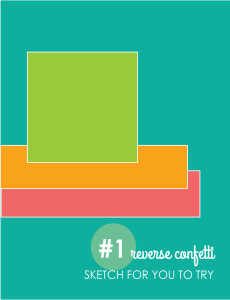
| The Sketch
|
What do you think about this sketch? I think it was a fun one to work with. As you can see, I once again had to do the "out of the box" technique to get my daisy girl to fit! But it works!
Have a great weekend!
Happy Stamping!
Tina


