Hello! I bet you have been wondering ... where the heck is she? It is always crazy busy for me on the weeks that that I prepare my class kits for the classes at The Crafty Scrapper. Now, I am not complaining, because I love my teachin' gig, but it does take away my free creative time. Because, it seems that after I spend two solid days working on the kits, and teaching two days, I am just not in the mood. However, I did meet up with a friend yesterday to help her with cards that will get sent to the troops. The only card I did create in my shack was for today's share. So, I do have that for you. Let's get to it! I will show you my card and then Debbie's card, and of course, the sketch we both used. Enjoy!
 |
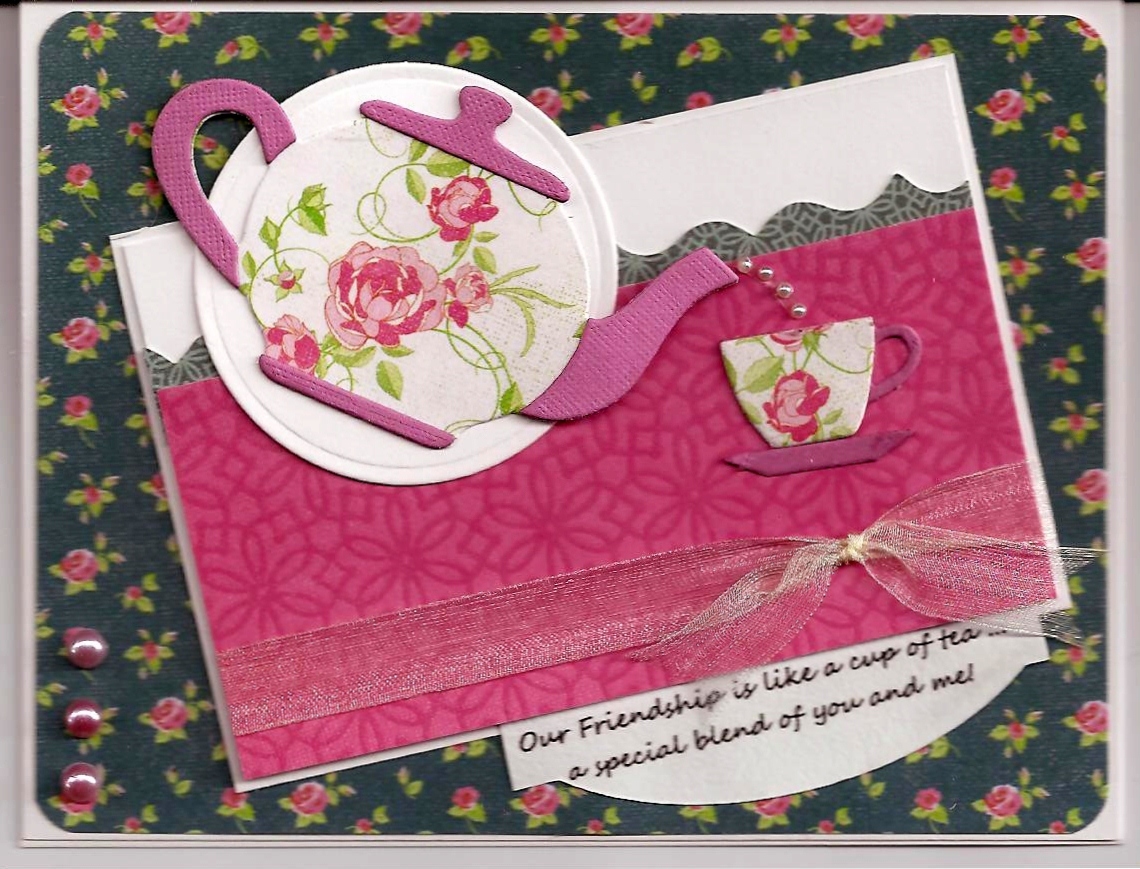
| My Card |
 |
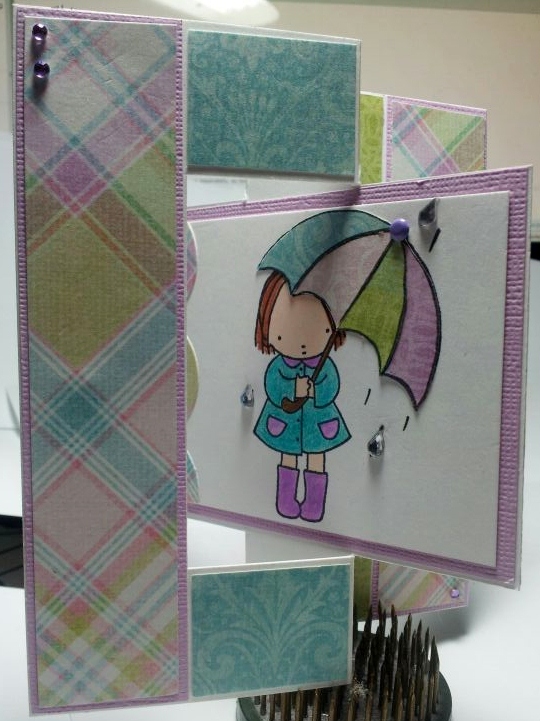
| Debbie's Card |
 |
| The Sketch |
I know I gave you my spill at the top of why you haven't seen me this week, but I have to tell you that trend is probably going to continue. Because in one week from today, my hubby, Gary and I are off on a cruise! And we are driving to New Orleans to get on the ship. Between Sunday and about Wednesday of this next week, I have to make class samples for my class at the end of March. On Thursday, we will be driving 3 hours each way to drop off our doggies (Chihuahua & a Pom) at his daughter's house, as she will be keeping them while we are gone. So, hopefully, I will get to do a post for you early in the week to show you the card samples. There will no interruption in the Saturday's sketch shares, as we are doing our exchanges for the next two weeks early and I will write the posts before I leave to show up on both of the Saturdays that I am gone.
Have a good weekend!
Happy Stamping!
Tina
.jpg)


.jpg)


.jpg)
.jpg)


